
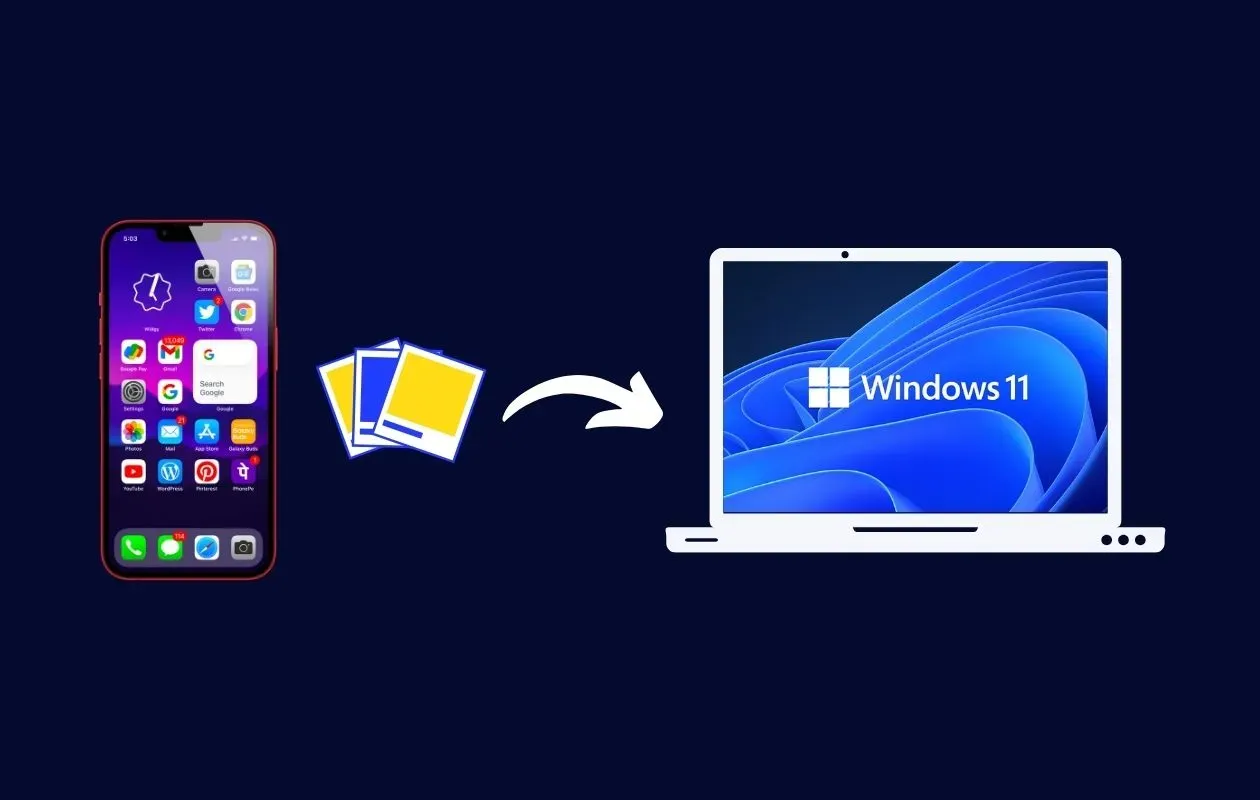
In this blog post, we’ll explore three user-friendly methods to help you seamlessly transfer photos from your iPhone to your Windows 11 PC. These methods cater to different preferences and offer practical solutions to manage your photo library effectively.
Method 1: iCloud – Your Cloud-based Photo Hub

Why iCloud? iCloud is a cloud-based service that enables you to sync and access your photos across Apple devices, making it an efficient solution for transferring photos.
Step-by-Step Guide:
- Enable iCloud on your iPhone:
- Go to Settings > [Your Name] > iCloud.
- Toggle the “Photos” option to enable iCloud Photos.
- Install iCloud for Windows:
- Download and install iCloud for Windows from the official Apple website.
- Sign in with your Apple ID.
- Configure iCloud for Photos:
- Open iCloud for Windows and check the “Photos” option.
- Click “Options” to customize sync settings.
- Access Photos on Windows:
- Open File Explorer on your Windows PC.
- Navigate to iCloud Photos to view and download your iPhone photos.
Benefits:
- Automatic Sync: iCloud syncs your photos in the background, ensuring your Windows PC is always up-to-date.
- Accessibility: Access your photos from any device connected to your iCloud account.
Method 2: USB Cable – Direct and Reliable

Why Use a USB Cable? A USB cable provides a direct and reliable connection between your iPhone and Windows 11 PC, offering a straightforward method for photo transfer.
Step-by-Step Guide:
- Connect iPhone to PC:
- Use the USB cable to connect your iPhone to your Windows PC.
- Trust This Computer:
- If prompted on your iPhone, tap “Trust” to establish a secure connection.
- Access iPhone Photos:
- Open File Explorer on your PC.
- Find your iPhone listed under “This PC” and navigate to the “DCIM” folder.
- Copy and Paste:
- Select the photos you want to transfer and copy them to a desired folder on your PC.
Benefits:
- No Internet Required: Ideal for users with limited or no internet connectivity.
- Direct Control: Transfer specific photos without relying on cloud-based services.
Method 3: Windows Photos App – Integrated Simplicity
Why Choose Windows Photos App? Windows 11 comes with an integrated Photos app that simplifies the photo transfer process, offering a user-friendly experience.
Step-by-Step Guide:
- Connect iPhone to PC:
- Use a USB cable to connect your iPhone to your Windows 11 PC.
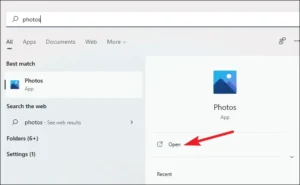
- Open Photos App:
- Launch the pre-installed Photos app on your Windows PC.
- Import Photos:
- Click on the “Import” button in the Photos app.
- Select your iPhone and choose the photos you want to import.
- Complete Import:
- Click “Import Selected” to transfer the chosen photos to your PC.
Benefits:
- Simplicity: No need for additional software; use the built-in Photos app.
- Integration: Seamlessly integrates with your Windows 11 environment.
Conclusion
Transferring photos from your iPhone to a Windows 11 PC doesn’t have to be a daunting task. Whether you prefer the cloud-based convenience of iCloud, the direct connection using a USB cable, or the integrated simplicity of the Windows Photos app, these methods cater to different preferences and ensure a smooth photo transfer experience.
Remember, the choice of method depends on your preferences, available resources, and the level of control you want over your photo transfer process. Choose the method that best suits your needs and enjoy a hassle-free way to manage your photo library across devices.
For more information and troubleshooting tips, refer to the following sources: