Introduction
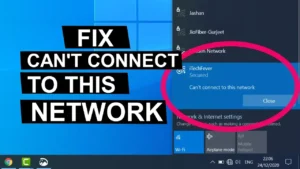
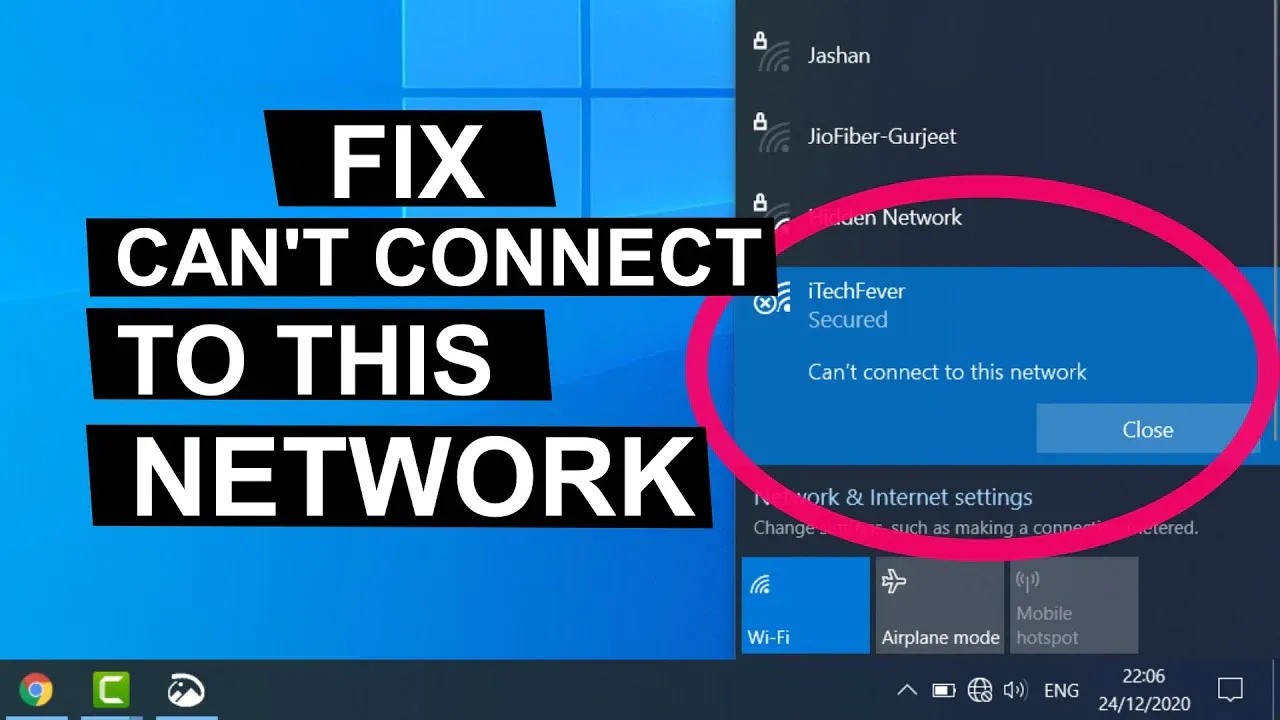
Windows 10 Can’t Connect to This Network: If you’re struggling to connect your Windows 10 computer to a network, you’re not alone. It can be a frustrating experience, but fear not! This guide will walk you through simple, beginner-friendly steps to troubleshoot and resolve the common “Windows 10 can’t connect to this network” issue.
Step 1: Resetting Network Settings
Why: Sometimes, network configurations get mixed up. Resetting them can help establish a clean connection.
How:
- Press
Win + Ito open Settings. - Navigate to “Network & Internet.”
- Click on “Status” and then on “Network reset.”
- Follow the on-screen instructions to reset your network settings.
Step 2: Forget and Reconnect to the Network

Why: Stored network profiles might have issues. Forgetting and reconnecting can establish a fresh connection.
How:
- Open “Settings” and go to “Network & Internet.”
- Click on “Wi-Fi” and select the network.
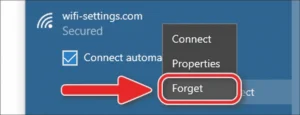
- Click on “Forget” to remove the network.
- Reconnect by selecting the network and entering the password.
Step 3: Update Network Drivers

Why: Outdated drivers can cause connectivity issues. Updating them ensures compatibility with the latest networks.
How:
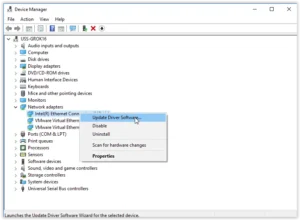
- Right-click on the Start button and select “Device Manager.”
- Expand the “Network adapters” section.
- Right-click on your network adapter and choose “Update driver.”
- Follow the on-screen instructions to update the driver.
Additional Tips:

- Ensure your Wi-Fi password is correct.
- Restart your router and modem.
- Check for interference from other electronic devices.
Conclusion
By following these straightforward steps, you can often resolve the “Windows 10 can’t connect to this network” problem on your own. Remember, patience is key, and don’t hesitate to reach out if you need further assistance.
Sources:
- Microsoft Support: [Reset Network Settings]

